If you want to learn how to paint doors like a pro, we are here to help. We will guide you in choosing the correct method to achieve a flawless and enduring paint finish for your doors. This article explores various techniques, offering insights to DIY enthusiasts and professional painters.
Let’s start with the prep work involved –
1. Removing Doors and Labeling Slabs and Hardware:
You can paint doors in place and tape off knobs and hardware with tape or take them off. I recommend removing doors from their hinges before painting for the best results.
Start by labeling each door by placing masking tape on the top of the door and marking doors numerically, using a Sharpie, to the corresponding hardware. It’s equally as essential to label door knobs and strike plates.
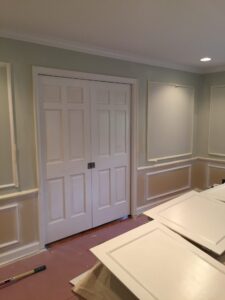
Pro Tip: Once the doors are marked, place them horizontally on saw horses to make them easier to work on.
Depending on how much dirt and grime is on the doors, you clean them using a TSP solution. This step is often unnecessary since you will be sanding the surfaces.
Sanding: Use medium to fine sandpaper, usually 100 – 150 grit, to smooth out imperfections and to ensure the paint adheres well. Then, use a vacuum with a brush attachment to remove dust, and finally, wipe down the door afterward with tack cloths to remove any fine dust particles.
2. Applying the correct Primer:
Primer is for a long-lasting finish, especially on bare wood or when changing the door’s color dramatically. It ensures better paint adhesion, increases paint durability, and provides additional protection for the door material.
3. Choosing the Right Paint:
The choice of paint can significantly affect the outcome. High-quality acrylic latex paints are famous for their durability and ease of cleaning. For a hard-wearing finish, consider using semi-gloss or gloss paints, especially for frequently used doors.
4. Applying Primer:
Primer is vital for a long-lasting finish, especially on bare wood or when changing the door’s color dramatically. It ensures better paint adhesion, increases paint durability, and provides additional protection for the door material.
1. Brush Painting:
Brush painting is a traditional method, ideal for doors with intricate details or panels. Start with a high-quality brush and apply Primer to ensure a smooth finish. Use long, even strokes, working in the direction of the grain. This method allows for maximum control but can be time-consuming.
2. Roller Painting:
A roller is an excellent choice for a quicker application on flat doors.
Foam rollers provide a smooth, lint-free finish, making them the preferred choice. Apply the paint in a W-pattern, then smooth it out for an even coat. Rollers can’t reach corners and crevices as effectively as brushes, so that you might need a brush for touch-ups.
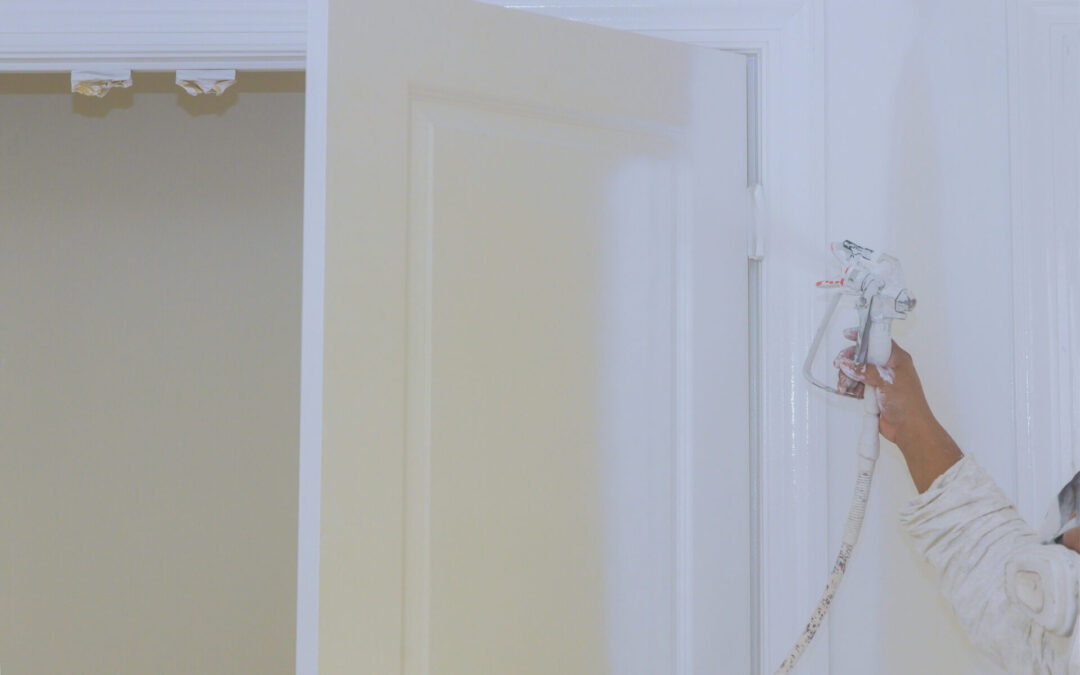
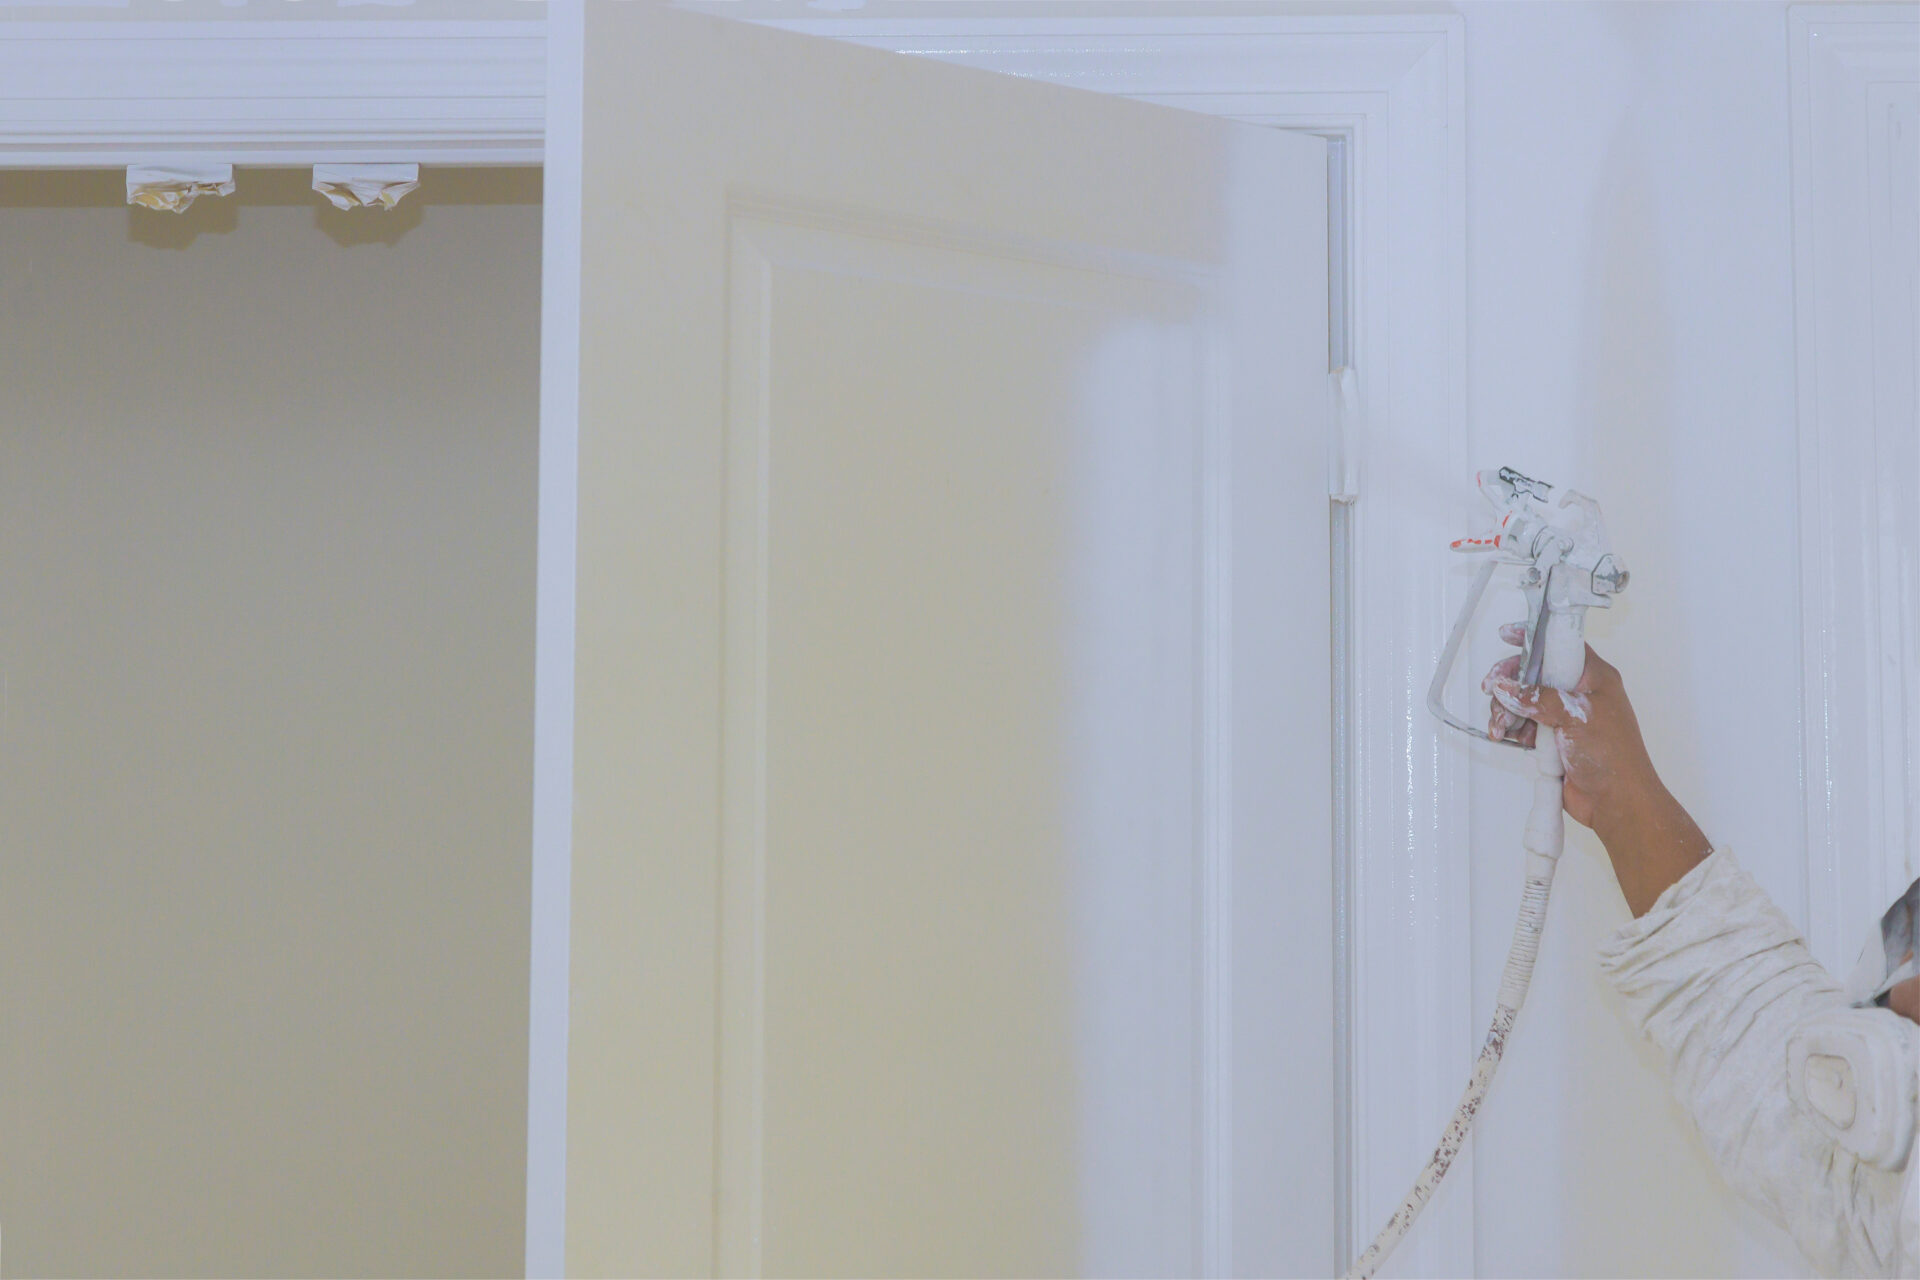
3. Spray Painting:
Spray painting offers a fast and uniform finish, perfect for modern, flat doors. It requires a well-ventilated space and protective gear. We recommend applying multiple light coats for a drip-free finish. This method is best suited for those with experience handling spray equipment.
In conclusion, the method chosen for painting interior doors depends on the door’s style, the desired finish, and the painter’s skill level. Whether you opt for brush, roller, or spray painting, thorough preparation and choosing the right paint are crucial to achieving a professional-looking finish. Remember, a beautifully painted door can significantly enhance the aesthetic of any room.
